Exporting time-sheet hours from TimeDock into MYOB Acumatica
Last updated - Jul 21, 2026 at 11:30AM
Configure MYOB Acumatica for timesheet import
Login to your MYOB account.
Go to the Data Maps screen (MPPP7020).
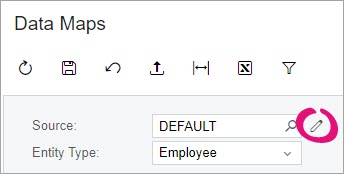
In the summary area, click the edit icon next to the Source field.
On the toolbar of the Data Map Source Types window, click the Add Row icon.
In the new row, complete the Source type and Description fields.
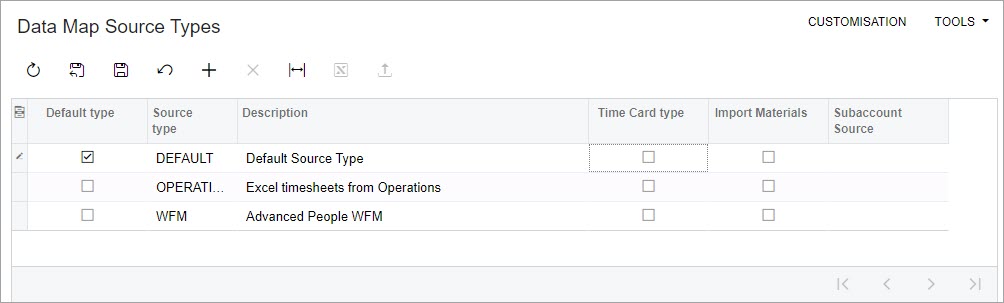
If you want this source to be the default data map used on other screens, select the Default type checkbox.
Select the Time Card type checkbox.
In the Subaccount Source dropdown, select where the subaccount will be taken from when importing time card data using this source.
On the toolbar, click the Save current record and close the screen icon.
Back on the Data Maps screen, select the new Source you created.
Select which Entity Type you want to map records for:
Employee - All active payroll employees.
Pay item - All active pay items that have a calculation method of "Rated" or "Amount".
Subaccount - All active subaccounts.
The main grid displays details of the records in the Internal ID and Internal Description columns. Each record can only have a single external identifier mapped against it. There are two ways you can complete mapping:
Manually enter the External ID and External Description for each record.
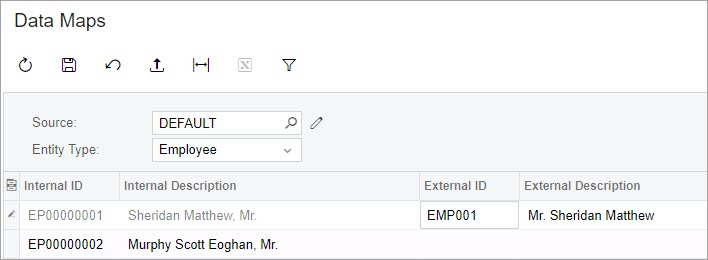
On the toolbar, click the Export to Excel icon. Complete the mappings in the exported Microsoft Excel file. On the Data Maps toolbar, click the Load Records from File icon to upload the completed Excel file back into the grid.
On the toolbar, click the Save icon.
Export timesheet file from TimeDock
Login to your TimeDock account and navigate to Export.
Choose MYOB Acumatica from the list of export formats.
Select your timesheet date range by modifying the From and To filters. You can also choose a different rounding option or filter the exported timesheets by a specific department.
Enter the code for your default Pay Item ID that you have set up in your MYOB account.
Choose a source to map to Subaccount within your MYOB account.
Choose if you want to create automatic break deductions by changing the settings in the Break Deductions box.
Click Download File to save the timesheet file to your computer.
Import timesheet file into MYOB Acumatica
Login to your MYOB account.
Go to the Import Timesheets screen (MPPP7030).
Select the correct Data source type.
On the toolbar, click the three dots icon (...) and choose Upload Timesheet.
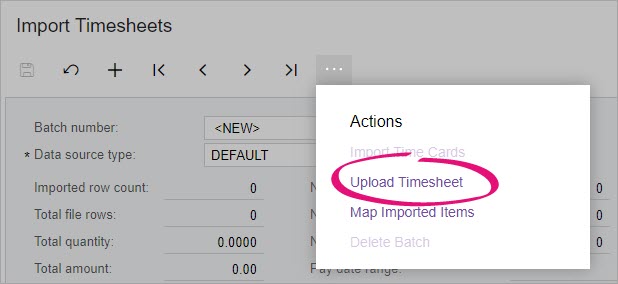
In the Timesheet File Upload window, click Choose File and select the file you want to upload.
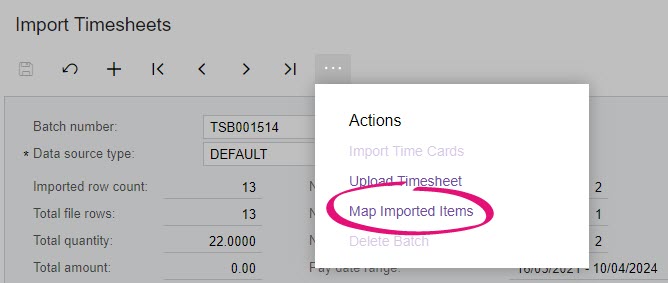
Once the upload is complete, on the toolbar, click the three dots icon (...) and choose Map Imported Items and map each field from the timesheet file to fields within MYOB Acumatica.
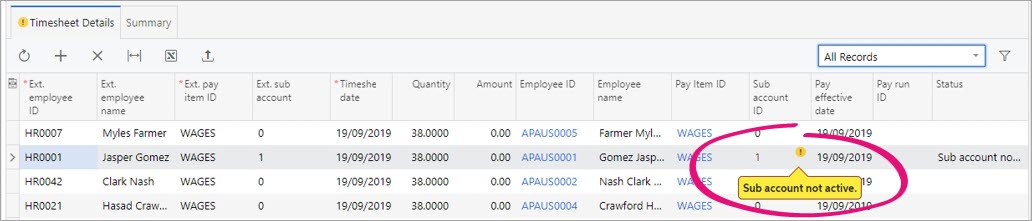
Click on the SUMMARY and TIMESHEET DETAILS tabs to view the imported timesheet records, and resolve any warnings.

Once your imported timesheets have been finalised, open your pay run from the Pay Run Details screen (MPPP3120).
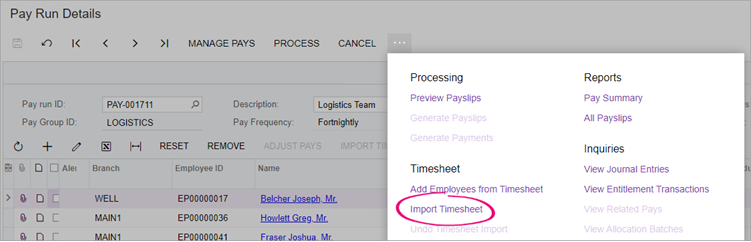
Click the three dots icon (...) on the form toolbar and choose Import Timesheet.